Basic camera guide
Too often, the lab develops films witch appeared to be under or over exposed. This is always disappointing, both for the filmmaker and also the S8RL, and therefore I wrote this short text.
It is about super8 film-making in general. This text is not a complete super8 manual, but rather tries to deal with the basics. While reading this, bear in mind that we are talking about how to make a clear and sharp super8 film and that you can always try something different for special reasons. So only read this if you might think it could be of any use to you. Everything that you read here is out of own experience while making my own short films and you might want to try it for yourself. Don’t blame me if anything goes wrong but try it out and see what happens. It’s is not called ‘do it yourself’ for no reason.
Many images are taken from the book ‘Elseviers Grote Boek voor de Smalfilmer’ from 1980.
SYSTEMS
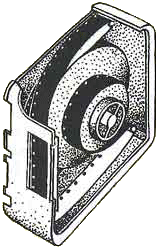
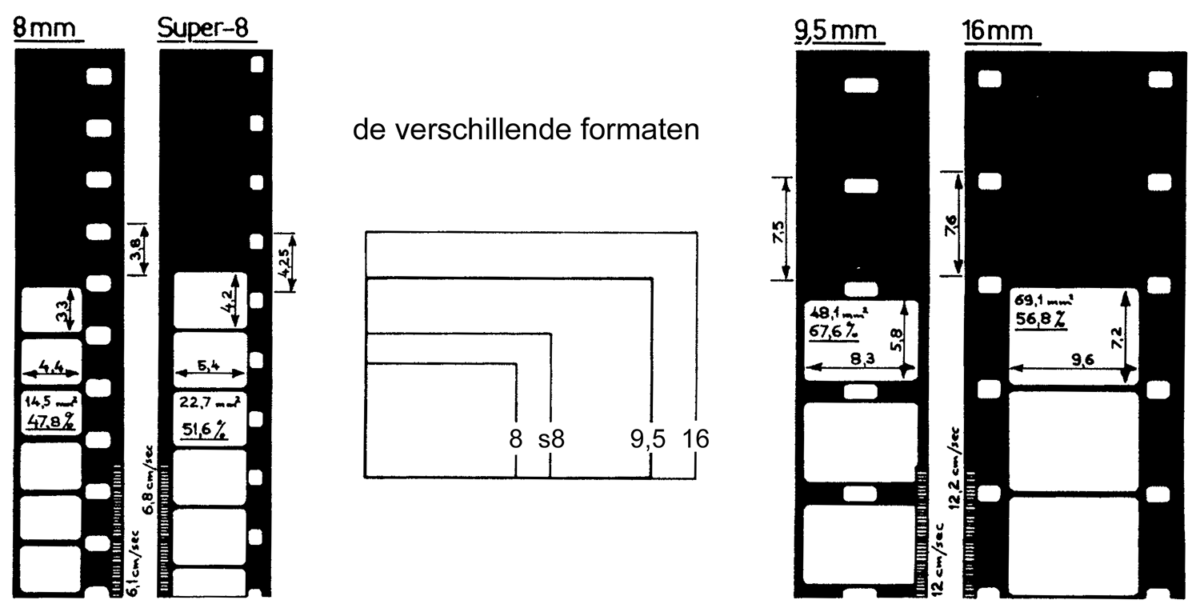
The are a lot of names in our film world that all deal about eight mm film. There are two major 8mm systems available in the world and here you see two drawings. On the left side is the super8 system developed by Kodak. The right side is the single8 system by Fuji.

Every cartridge has its own advantages. But technically speaking the single8 system is the best of these two. It is very easy to rewind – and double expose – and has its pressure plate in the camera which makes the images more steady. But in the early days more brands released their film in a super8 cartridge because the majority choose super8. The 8mm wide film in both systems had the exact same type of perforations. And after processing we call both super8 film.
Material
There are a lot of misunderstandings about how to expose a super8 reversal film. A lot of people are used to make still photographs before they start working with super8. The big difference from still photography is the kind of film stock you use, super8 reversal film a.k.a. direct positive or slide film whereas with still photography we normally use negative film stock. This negative stock allows a wide range of exposure f-stops, and can easily be pushed or pulled during processing. After processing you make a final print and then you can decide how it will look. How light or dark your image will be, and what kind of black&white or color balance it will have. Here is where most people think the ‘wrong’ way. You should not treat super8 reversal film as you do with negative still photography. Once a s8 film has been developed you can’t adjust it any more. [With the exception of different chemical treatments or making a duplicate that is.] This means that you should try to expose and develop your film as best as you can. There is no way back once you have processed you material. So what I want to point out is: make sure that you expose your film correctly and be aware of the fact that this is reversal film. It is very difficult to push or pull during development of the film and it will always lead to unexpected result. (And of course: I agree: that is the thrill of super8 film making.) But for all of those who don’t want this to happen, read the next paragraphs as well.
Tip
If you want to find out what kind of influence the exposure can have on your film, you could make a test film. Just take different subjects indoor and outdoor and shoot them with different f-stops. Use a external exposure light meter to compare your results. Write everything down. And then compare every shot with each other and start thinking which the best result.
Camera
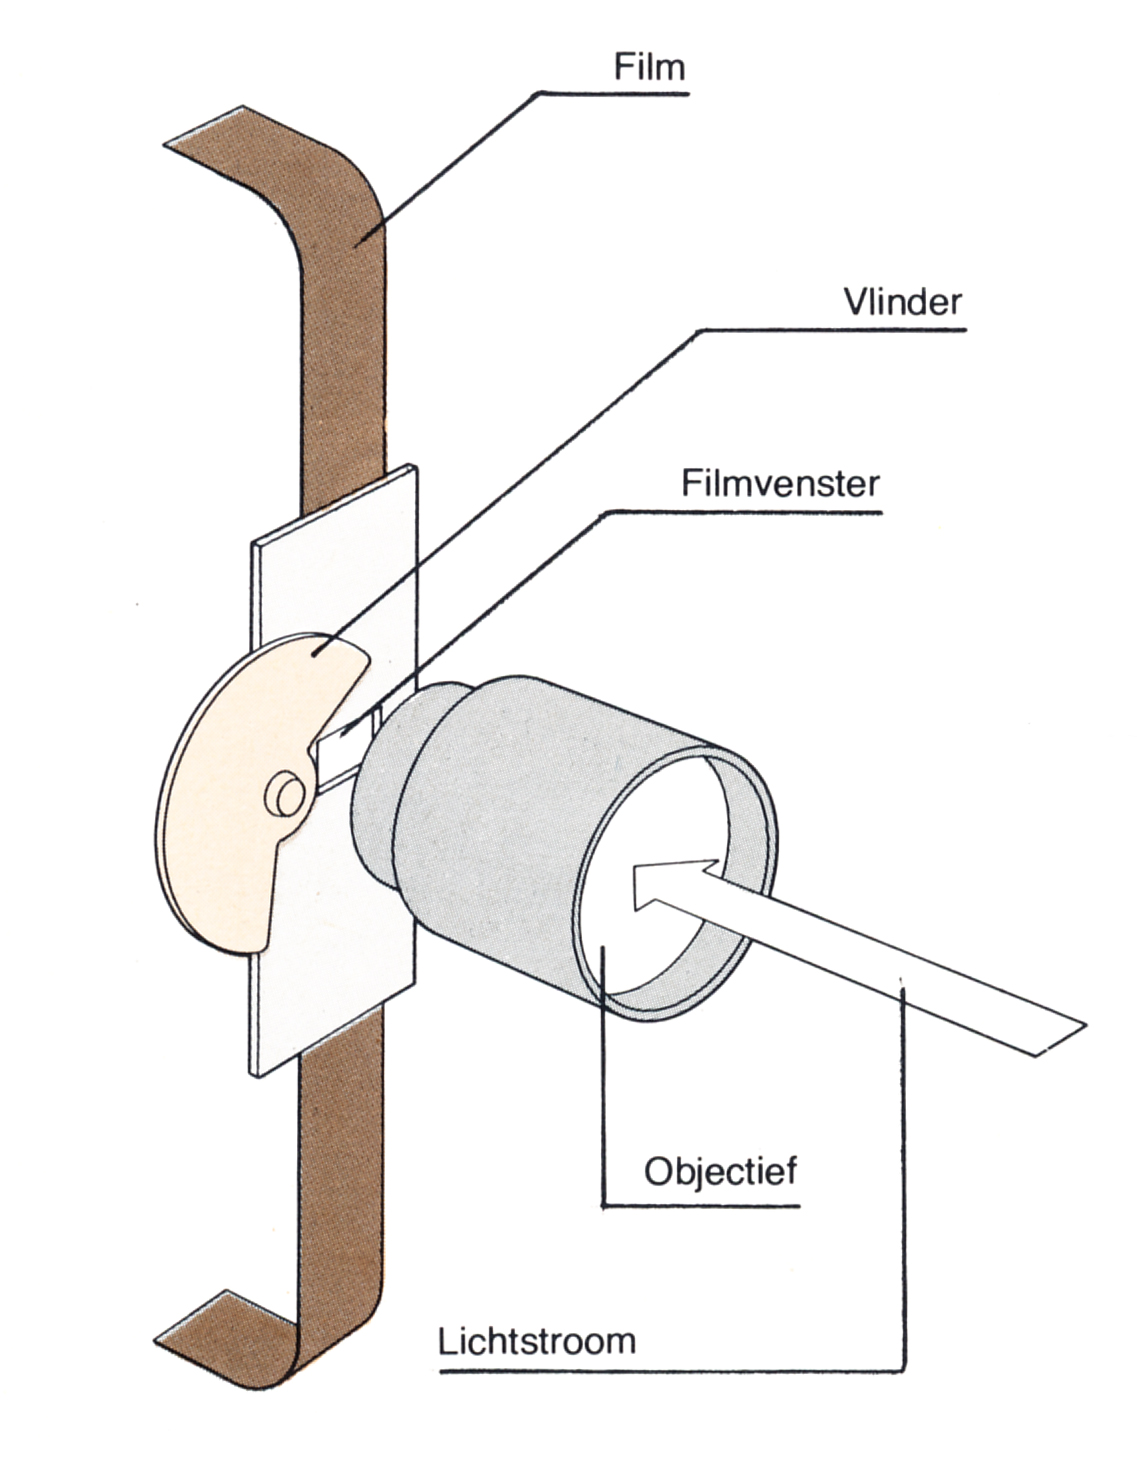
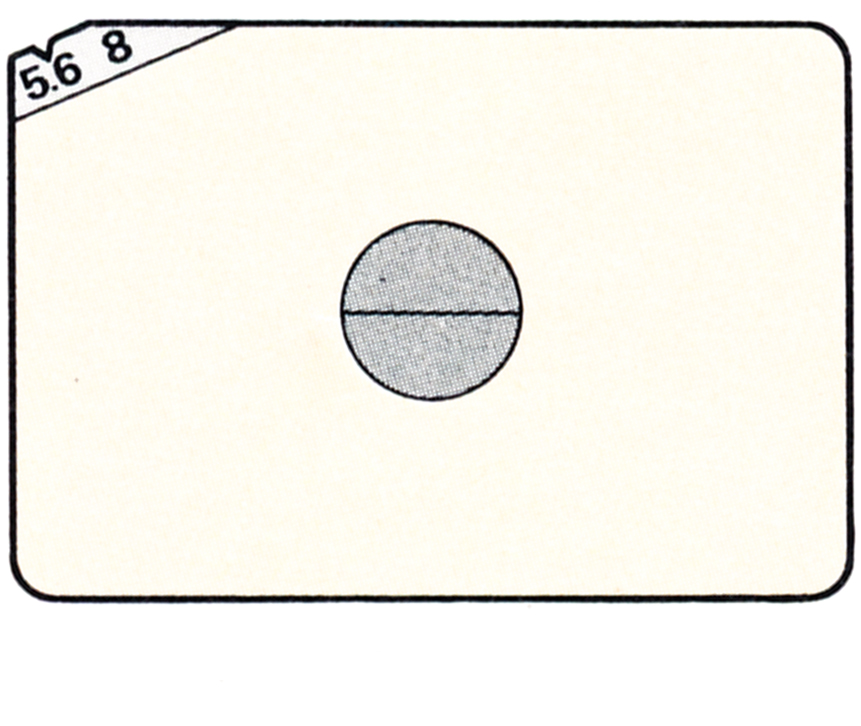
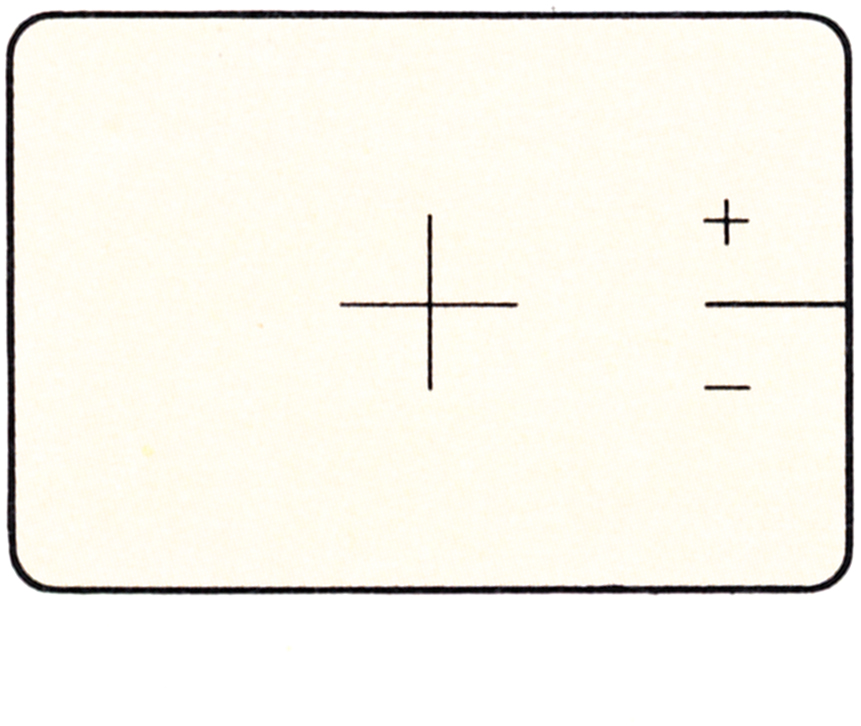
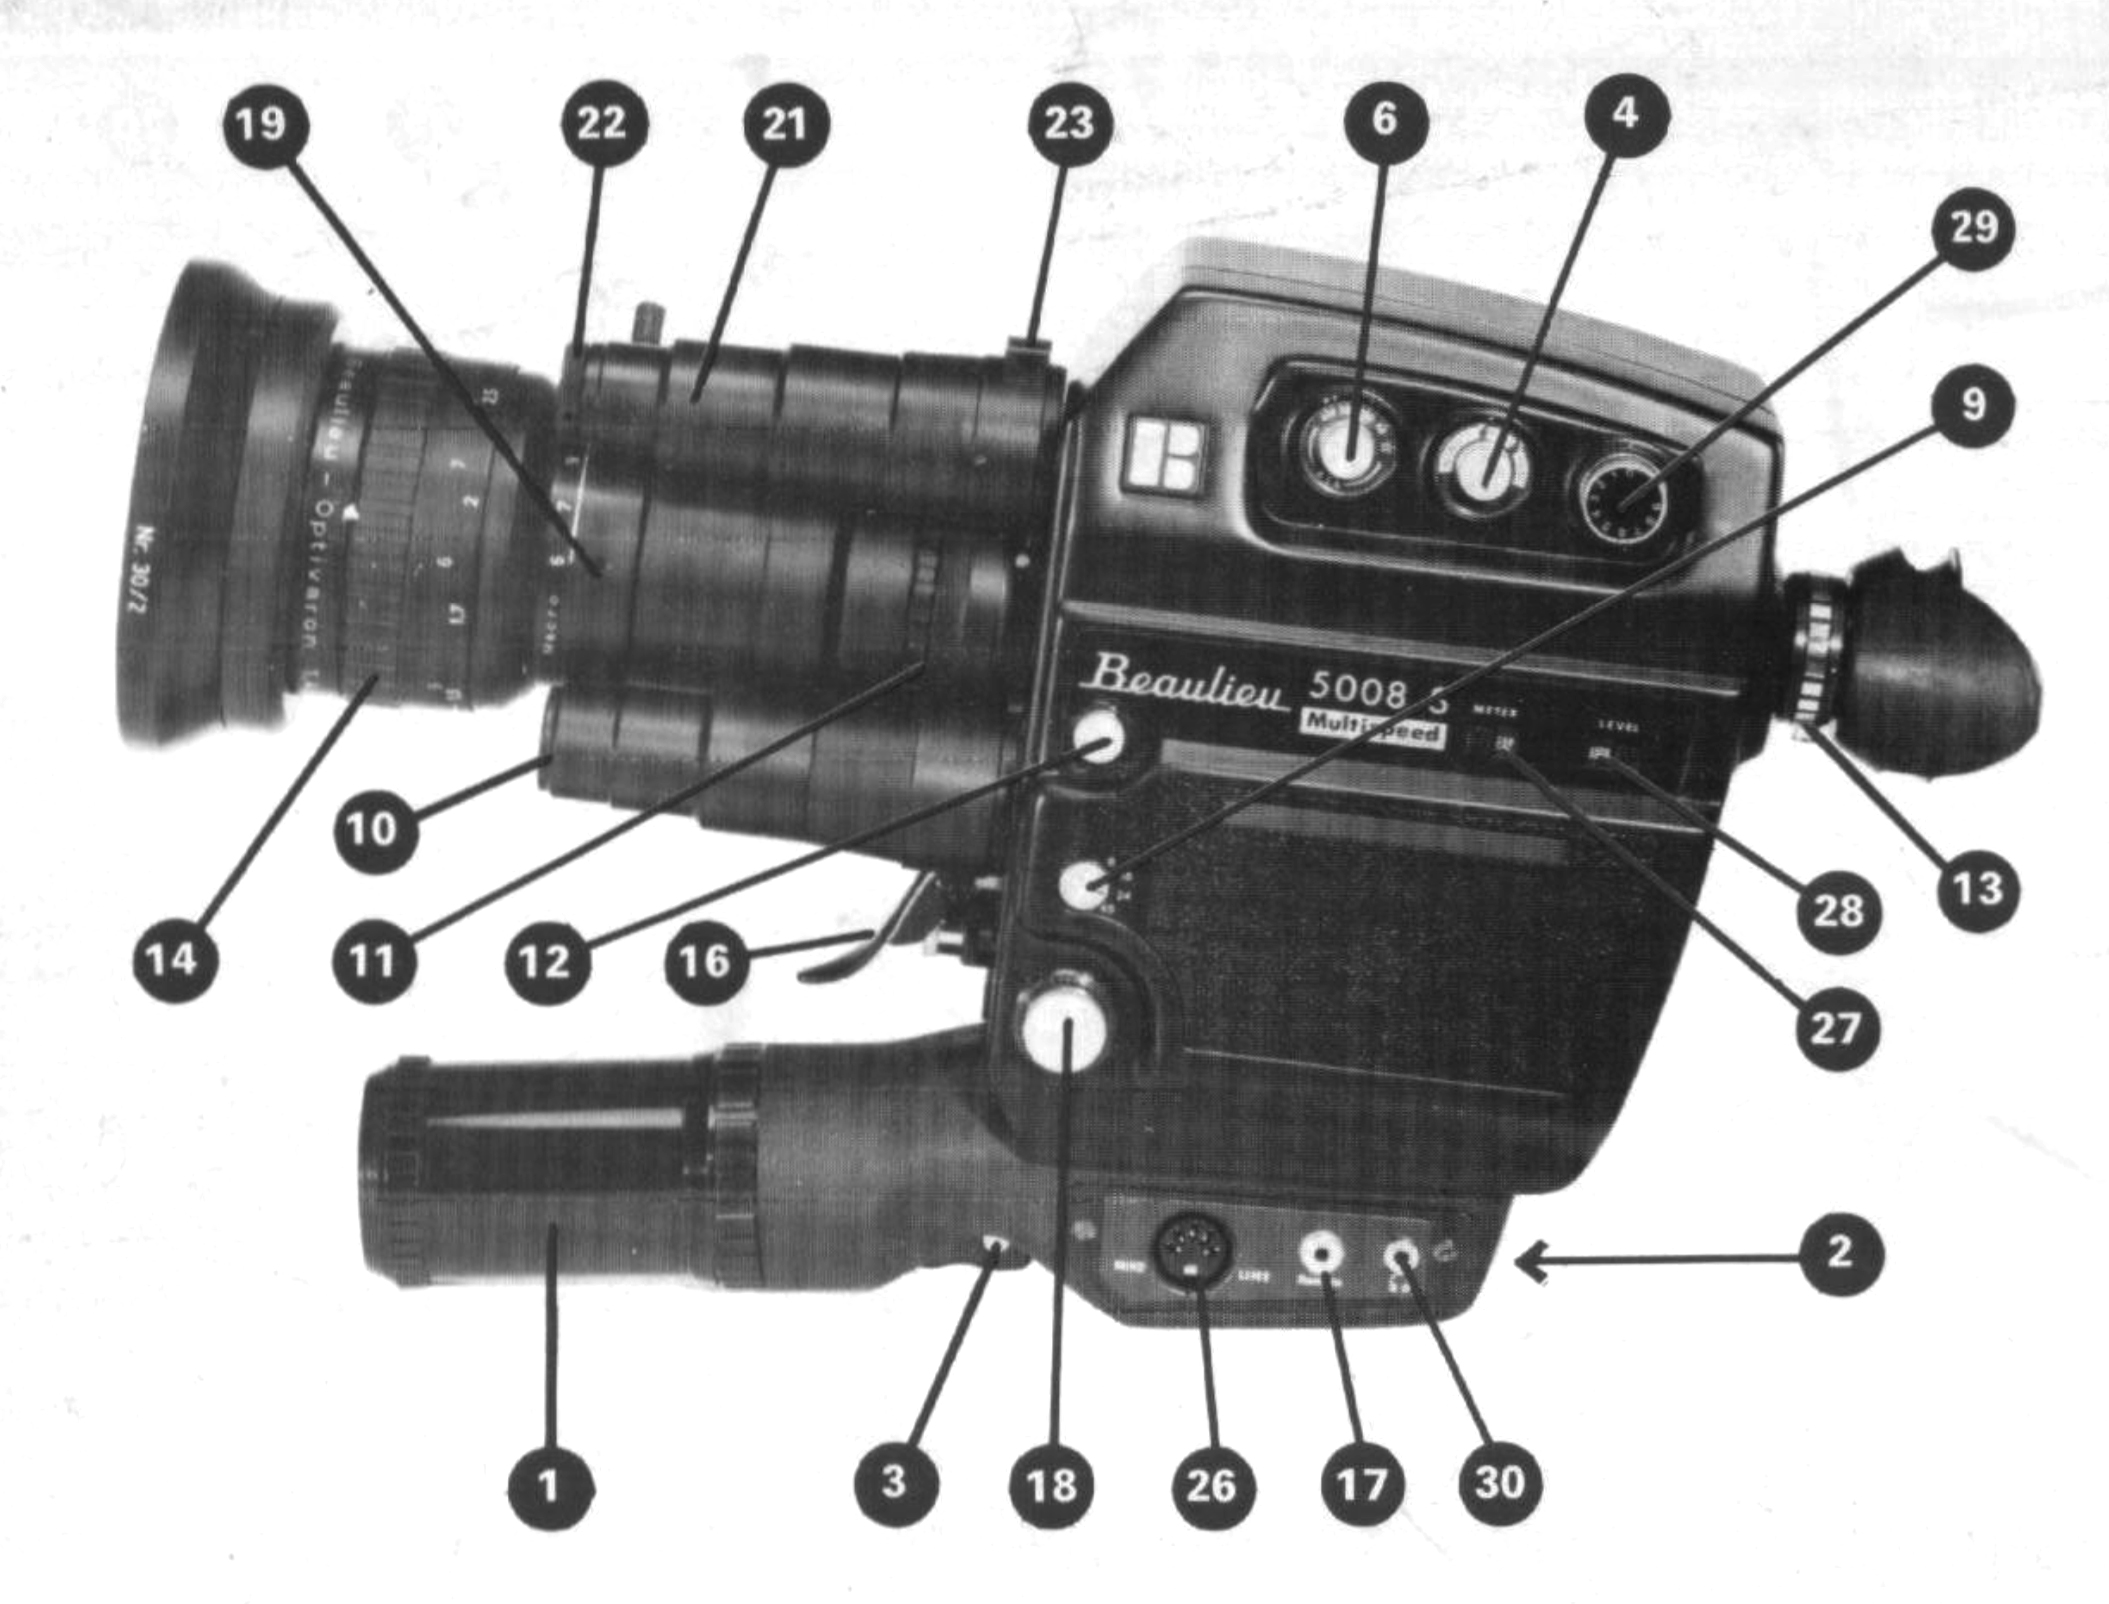
Of course every s8 camera has his own special characteristics and features. Read your manual to find out what they are. No matter what camera type you use, there are similar rules concerning focus, aperture and speed. Here are some tips. Always check your camera for proper functioning. Learn how you get the best results from it. First do a battery check. Most camera’s have two separate battery chambers, one for the drive/speed of the film and the other for the light meter and auto diaphragm control. The motor is fed by AA type batteries witch can be found in the handgrip of your camera. The light meter battery is very small and looks like the ones that are in your watch. They can be found at the bottom of your camera near the screw for the tripod. If you only have the AA type of batteries then they are for every camera function including the light meter. You can test your battery system by pressing a small button. Then a light will be visible in the viewfinder or the needle of the aperture should point to 8 or more (11). A lot of exposure problems are caused by bad batteries so please make sure they are in good condition.
Focus
First of all you have to adjust the eyepiece/ocular. Not all camera’s have this facility. Unlock the eyepiece-ring and turn the lens to tele position, open the aperture completely. Turn the ocular ring until you see the viewfinders image is very clear and sharp. Lock the ring with the small screw. To make a sharp focused image you have to zoom in (maximum) on your subject. Then adjust the distance ring until the image is in focus and put the lens in the desired position for a good framing.


Light meter
In a lot of cases the automatic exposure of common s8 camera’s will be O.K.. Sometimes it might be better to work with manual exposure. Specially when you want to do over/under exposures. It is important that the film sensitivity, when you put the camera on automatic, can be read. See in the cartridge holder/compartment if the manufacturer has printed the sensitivity range. Often you’ll find 40/50ASA and 160/200ASA for normal use with Kodachrome and Kodak Tri-X. But if you shoot on new Kodak Ektachrome 7240 you might have a problem. Not all camera’s are suitable for this 80/125ASA film stock. I know that camera’s like the Nizo type 3048 and the Canon type 1054XL can handle this Ekta film without any problems. But make certain if you use Ektachrome. In case of manual exposure there’s nothing to worry about. As long as you measure right.
Speed
We can talk about speed in to different ways. First you have your camera speed/recording speed. And then there is the projection or screening speed. The screening is always done at 18 or 24 f/s. The recording speed is more variable and could be frame by frame (single frame), 4, 8, 18, 24, 25 and 54 f/s. (Check your own available camera film speeds.) A standard camera speed is 18 or 24 f/s. If you want to print your film to 16mm and add sound you should record with 24 f/s. Increasing the speed of the camera above 24 f/s will lead to slow motion effects and recordings under 18 f/s will give you fast motion effects.
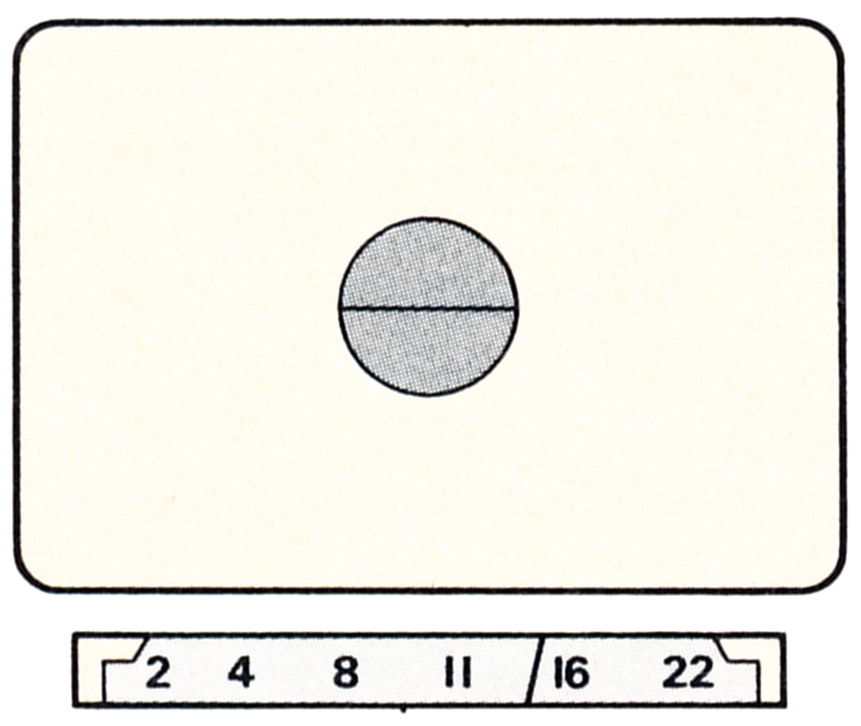
Counter
The length of every super8 film is 15meters or 50feet. The camera will have a counter witch tells you how many feet you have left or how many film you’ve already used. Most camera’s have a counter that displays both: meters and feet. If you take out the cartridge before the end of the film the counter will reset to zero, and you will loose around seven frames because of over exposure. If you have reached the end of the cartridge you can read the word ‘exposed’ on the film. If you don’t see this the cartridge is not completely exposed. Some camera’s have a single frame counter and that could be very useful if you do animation or single frame takes.

Three important links
- This super8camera website is a fantastic resource to read from the beginning to the end.
- The German page Filmkorn wrote a great guide for starting super8 filmmakers.
- Thanks to the webarchive for saving this super8 camera guide it is one of the most liked sources when it comes to super8.
What is the first thing you should do
If you ask the lab: `What film should I use?` the answer will be: `That is a personal and technical choice you have to make.` First check your camera manual to learn what film types it can automatically expose. If you don`t have a manual search for one on the www. This info will limit your options. Secondly choose between black/white or colour films. And do you want a reversal film for projection or do you need a digital file anyway (then you can choose any film type)? This leaves you with a few options. Now how will your film look after exposure and processing (and maybe scanning)? The only good way to learn the characters of all emulsions is to use them all at least once. I know this is an expensive road but understand what film makes so beautiful compared to digital files: every film emulsion and light situation gives you unique images!
- Find the manual from your camera at home or online
- Search which film emulsion can be automatically exposed by your camera
- Compare this with the films offered on this website
- Let us know your choice via the website form or via emai
- Receive a price offer, pay it and get the films by post
That’s it for this short super8 camera tips and tricks, if you have any comment I would love to read them. My final advise is: use this guide in any way you fancy and have a lot of fun with super8!